
Leads
Capture visitor details mid-conversation and deliver them to your tools.
Lead capture turns high-intent chats into qualified contacts. Decide which fields to collect, then deliver each submission to Google Sheets, a webhook, or email.
Lead capture is most useful on public website chatbots, where anonymous visitors arrive with intent. On private knowledge base chatbots you usually already know who the user is.
Enable lead capture
Open the Leads tab from the top navigation.
Turn on the Enable toggle in the top right to start capturing leads. You can switch it off again at any time.
Set it up using the three tabs: Records lists captured leads, Fields defines the form, and Integrations connects delivery destinations.
Configure your form under Fields, then connect a destination under Integrations.
What the Integrations dot means
An orange dot on the Integrations tab means lead capture is on but no delivery destination is connected yet. Connect one so submissions are delivered somewhere -- otherwise leads are only stored under Records.
Testing in a deployed chatbot
In a deployed chatbot the lead form is shown only once per visitor and will not reappear after a visitor submits it. To test multiple times, clear browser storage or use an incognito window.
Define lead fields
Choose what to collect, such as name, email, and company.
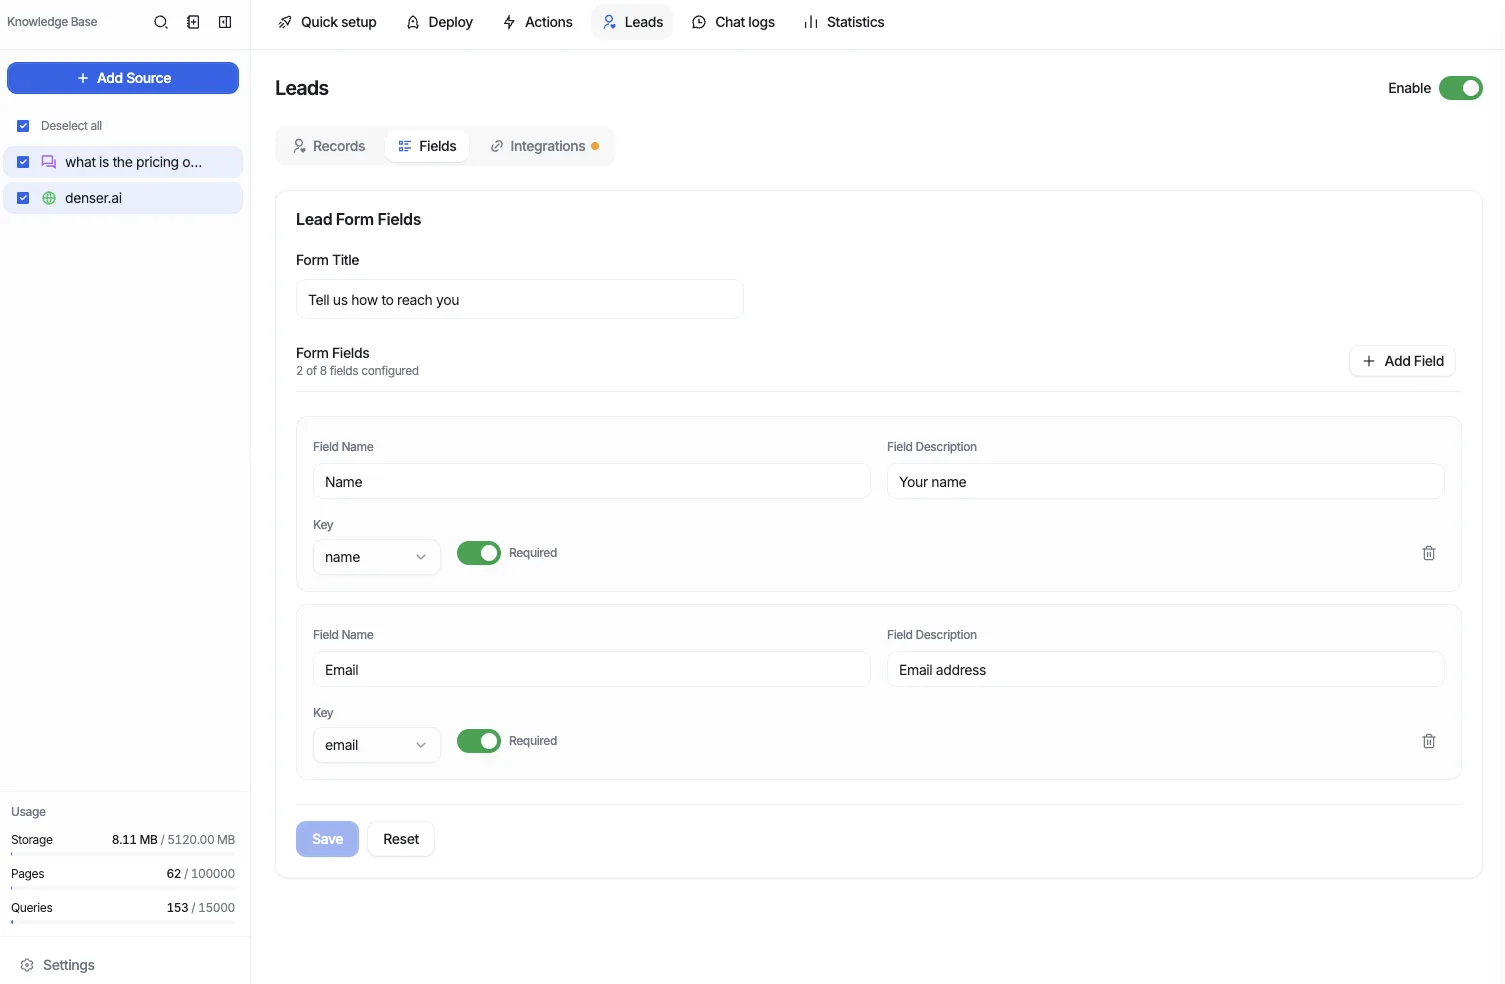
Open the Fields tab.
Edit the Form Title to set the heading shown above the form (for example, "Tell us how to reach you").
Add or remove fields in Form Fields (up to 8). Click + Add Field to add one, or the trash icon to remove an existing field.
Click Save to apply your changes, or Reset to discard them.
Field properties
- Field Name: the label shown for the field.
- Field Description: placeholder text shown inside the field.
- Key: the meaning of the field (for example,
emailorname). Usenoneif no key fits. - Required: whether the field must be filled before the form can be submitted.
Connect a delivery destination
Open the Integrations tab and click Connect on the destination you want.
Google Sheets
Sync each submission to a Google Sheets spreadsheet for tracking and analysis.
If you have not connected a Google account yet, click Connect New Google Account and complete the Google OAuth flow.
Click Connect again, then select the Google account from the dropdown.
If your chatbot already has lead data, it is synced to the sheet when the integration is created. Turn off Full Sync to skip the initial backfill.
Click Create Integration to finish. Every new submission is then written to your sheet.
Field versioning
Each time you change the lead form fields, a new tab is created in the spreadsheet to capture the new shape. Previous tabs are left unchanged to preserve historical data. The first row of each tab holds the field names.
Webhook
Send each submission as a JSON POST request to your own endpoint. This requires an application server and some coding.
Enter the Webhook URL that will receive submission callbacks.
Fill in any advanced options, then click Save to complete setup.
Use the Test button to send a sample submission to your endpoint.
Email notifications
When a visitor submits a lead, Denser automatically emails a notification to the chatbot owner's account email — the Denser account that owns this chatbot. The email includes the lead's name, email, and phone, whichever were collected. No setup is required; a notification is sent for every submission.
Leads appear in chat logs
Every captured lead is attached to its conversation. Review them alongside the full transcript in Chat logs.