Simple Slack Integration
This step assumes that you already have a chatbot at Denser.ai. If not, please follow one of these guides to create your own chatbot.
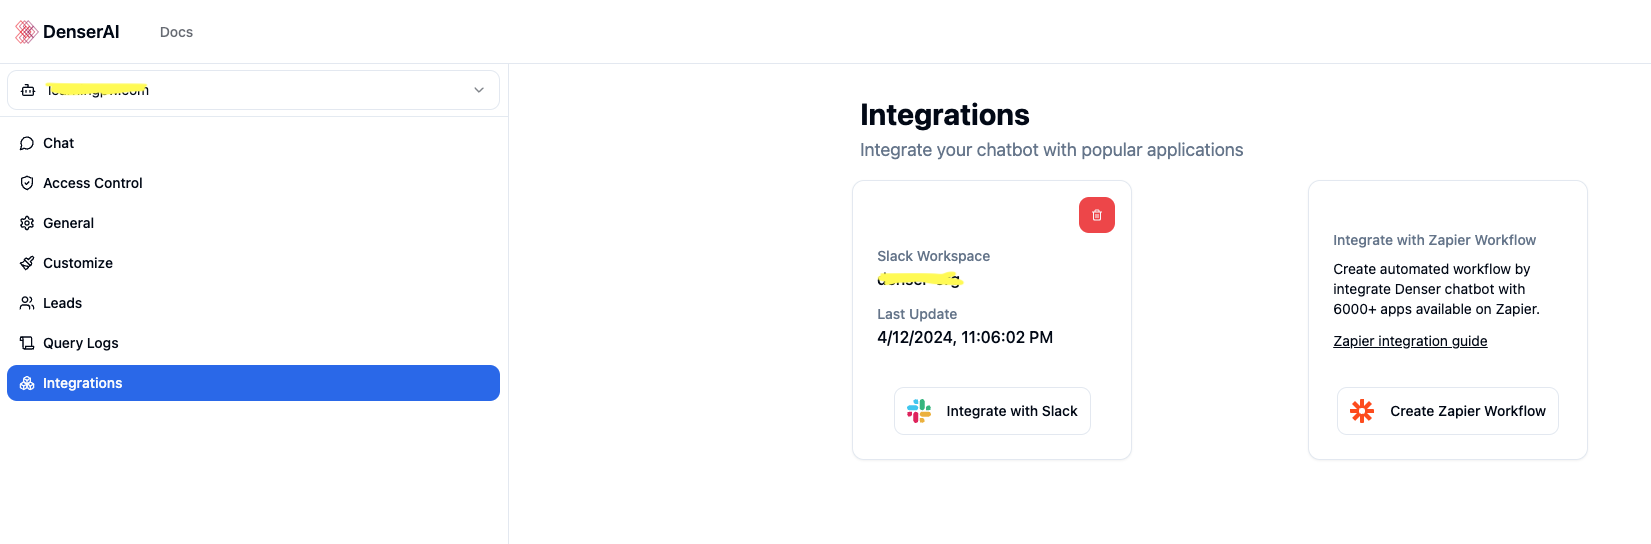
On the main screen of your selected chatbot, make sure you selected Integrations. You should see a page look similar to the following screenshot.
If your chatbot was not integrated with any Slack workspace before, Slack integration tile should look like the following. Click on Create Slack Integration button to start Slack integration.

You will be redirected to Slack authentication page. Please click Allow button to grant your chatbot access to your Slack workspace. If you have more than one workspace, use the dropdown menu at top right corner of the page to select the workspace you would like to integrate with.
Note: DenserAI requests for the minimum permission to access your Slack workspace. You can always review the permission requested by Denser chatbot at expaned on the following screenshot.

Test Slack Integration
After successful integration, your Slack integration tile will look like similary to the following screeshot, which shows the name of your Slack workspace that is integrated with your chatbot.

To test Slack integration, it is recommended to create a dedicated channel so it doesn't disturb other users in your Slack workspace. In this Slack channel, you can create a new Slack message that starts with @DenserAI and is followed by your question to Denser chatbot. Wait a few seconds for your chatbot to process your question from Slack, and you will see the reply from your chatbot within the thread you started.
Revoke Slack Integration
Simple click cancel button, red trash icon button on Slack integration tile, to revoke Slack integration. Your chatbot deletes its token and can no longer access your Slack workspace.